Step-by-Step Wooden Boat Blueprints for DIY Enthusiasts
The allure of handcrafted wooden boats is undeniable. There's a primal satisfaction in shaping raw timber into a graceful vessel, ready to glide across the water. This article provides a detailed guide, walking you through the process of building your own wooden boat from meticulously crafted blueprints. Whether you're a seasoned woodworker or a passionate beginner, we'll equip you with the knowledge and steps necessary to embark on this rewarding journey.

Choosing Your Blueprint and Gathering Materials
Your first step involves selecting the perfect blueprint. Consider your skill level, available workspace, and desired boat type. Simple designs like a small rowboat or a kayak are ideal for beginners, while more ambitious projects like a sailboat or a larger skiff require greater experience and commitment. Many online resources and books offer detailed blueprints, catering to various skill levels and boat styles. Once you've settled on a plan, carefully examine the materials list. You'll need high-quality lumber, typically marine-grade plywood or cedar, chosen for its rot resistance and strength. Other necessary materials include epoxy resin, fiberglass cloth, marine-grade screws, and various woodworking tools.

Essential Tools for Your Boat Building Project
Building a wooden boat demands precision and the right tools. Investing in quality tools will save you time and frustration. Ensure you have the following:
- Measuring tapes and squares: Accuracy is paramount in boatbuilding.
- Hand saws and jigsaws: For cutting lumber to precise dimensions.
- Chisels and planes: To shape and refine wooden components.
- Drill and drill bits: For pilot holes and securing components.
- Clamps: To hold pieces firmly during assembly.
- Sandpaper and sanding block: For smoothing surfaces and creating a flawless finish.
- Epoxy resin and mixing cups: For bonding and sealing the boat's structure.
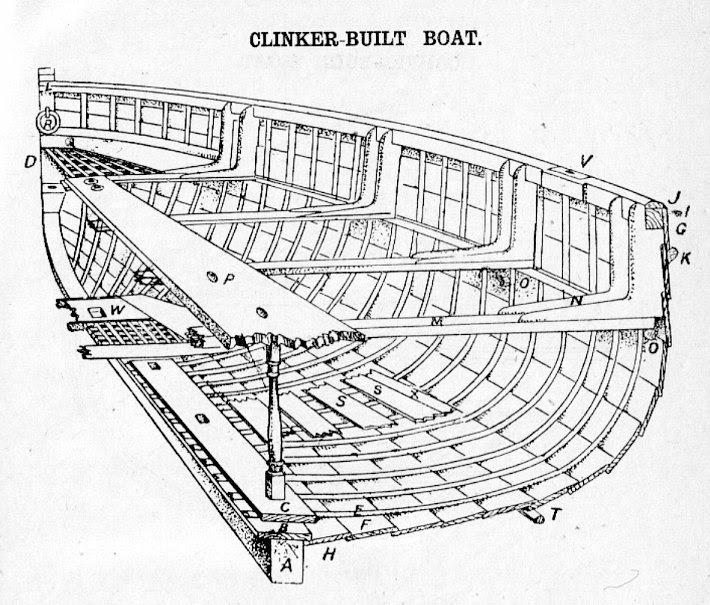
Step-by-Step Construction: From Keel to Deck
The construction process generally begins with the keel, the boat's backbone. Follow your blueprints meticulously, ensuring each piece is cut and fitted precisely. You'll then construct the ribs (frames) which give the boat its shape. Each rib must be carefully aligned and secured to the keel. Next comes the planking, where you attach thin strips of wood to the ribs, creating the hull's exterior. This step requires patience and attention to detail. Ensure a tight fit to prevent leaks. Once the hull is complete, you'll work on the deck and any additional features like seats or storage compartments. Remember, each step builds upon the previous one, so careful execution at each stage is crucial.
Applying Epoxy and Fiberglass for Durability
Once the wooden structure is complete, it's crucial to protect it from the elements. Apply several layers of epoxy resin, allowing each coat to cure completely before adding the next. This protects the wood from water damage and rot. You can further enhance durability by adding layers of fiberglass cloth, embedding them in the epoxy. This creates a strong, waterproof barrier, ensuring your boat's longevity. Remember to follow the manufacturer's instructions carefully for optimal results.
Finishing Touches and Launching Your Boat
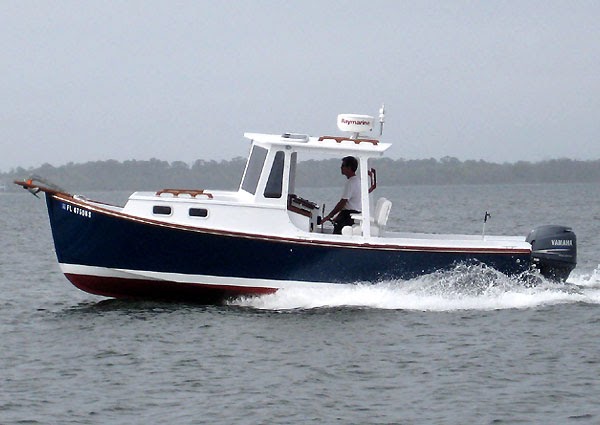
After the epoxy and fiberglass have cured, you can start the finishing touches. This might include sanding, painting, or varnishing the hull. Consider adding non-slip surfaces to the deck for safety. You may also want to install any necessary hardware, such as oarlocks or a rudder. Once everything is complete, it's time to launch your boat! This is a moment of immense satisfaction and accomplishment. Take your time, ensure the launch is smooth, and enjoy the fruits of your labor – a beautiful, handcrafted wooden boat ready for the water.
Safety First
Always prioritize safety. Wear appropriate safety gear, including eye protection, gloves, and a dust mask when working with wood and epoxy. Follow all safety instructions provided with your tools and materials. When launching your boat, ensure you have a helper and choose calm waters for your first few outings.